This post contains affiliate links. As an Amazon Associate, I earn from qualifying purchases, at no extra cost to you. See my Affiliate Disclosure.
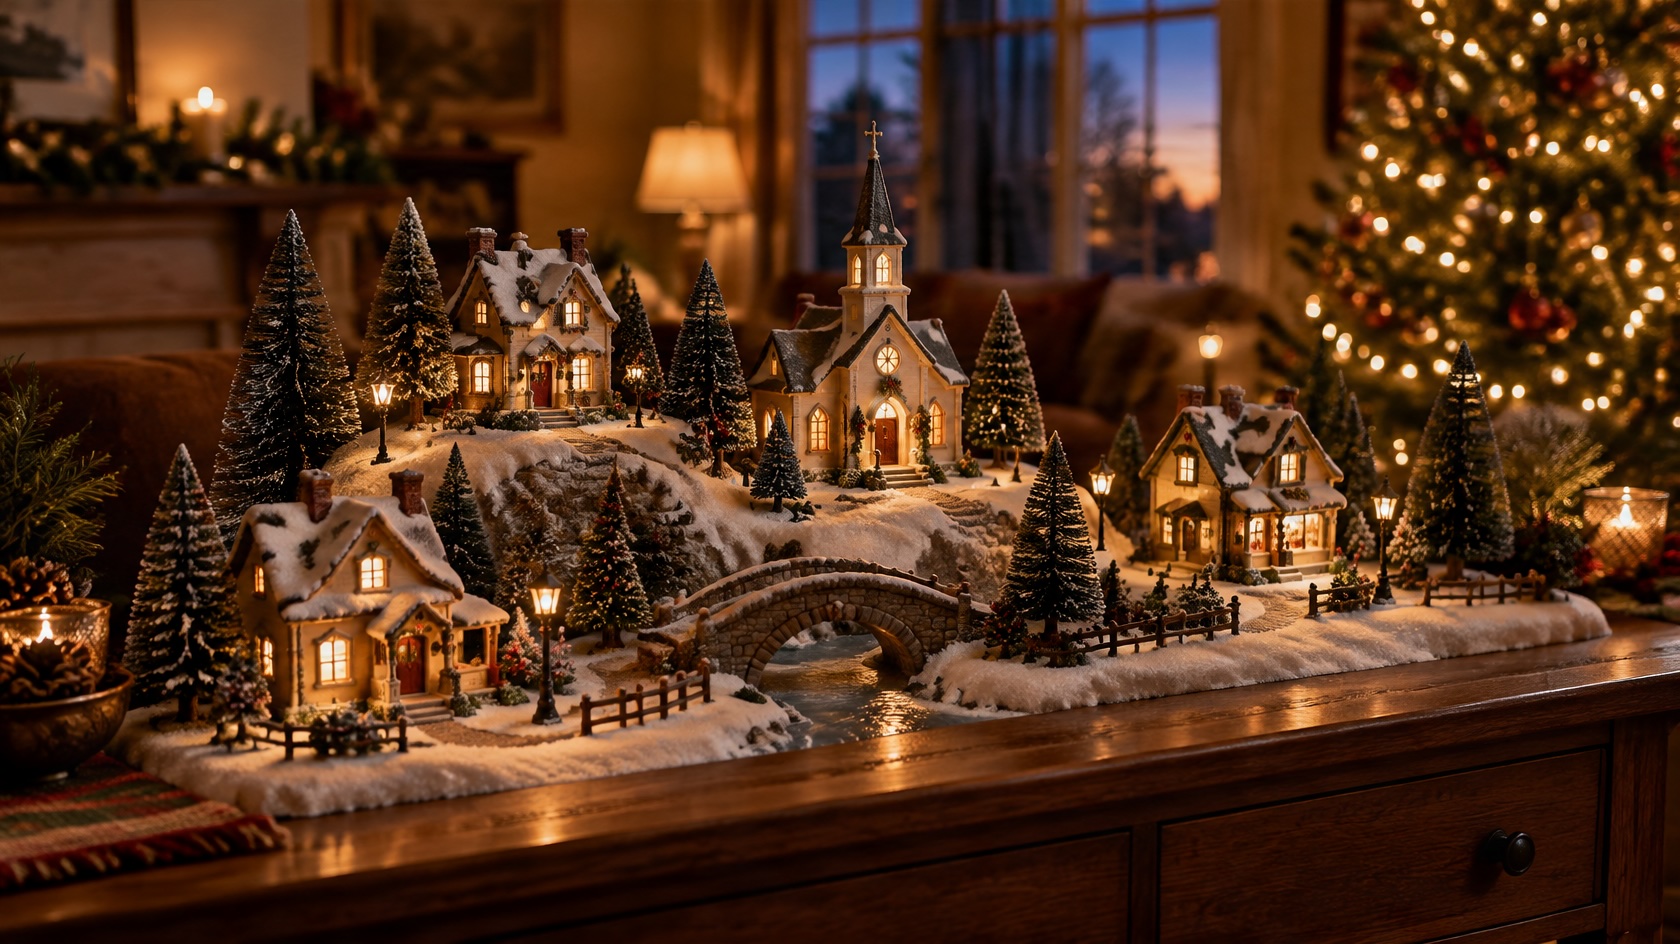
There is something about a lit Christmas village on a dark evening that makes the whole room feel slower and cozier. Whether you have three little buildings or thirty, a thoughtful setup turns a row of pieces into a scene people stop to look at. Here is the step-by-step process I use, from choosing a spot to hiding every last cord.
Step 1: Choose Your Spot
Before you unpack a single house, decide where the village will live. Popular spots include a sofa table, mantel, bookshelf, deep window sill, or a dedicated table in a corner. Look for a surface that is sturdy, level and close to an outlet, and away from busy walkways, curious pets and direct heat sources.
Measure the space and note how deep it is. Depth matters more than width, because depth is what lets you create layers.
Step 2: Build Height and Layers
Flat villages look like a parking lot. Height is what makes a display feel like a real hillside town.
Use risers. Tiered display risers, sturdy boxes or stacked books placed under the base cloth create hills and levels instantly.
Put tall pieces in back. Churches, clock towers and taller shops go at the back so smaller cottages stay visible in front.
Leave room for a main street. A clear path through the middle gives the eye somewhere to travel.
Step 3: Cover the Base
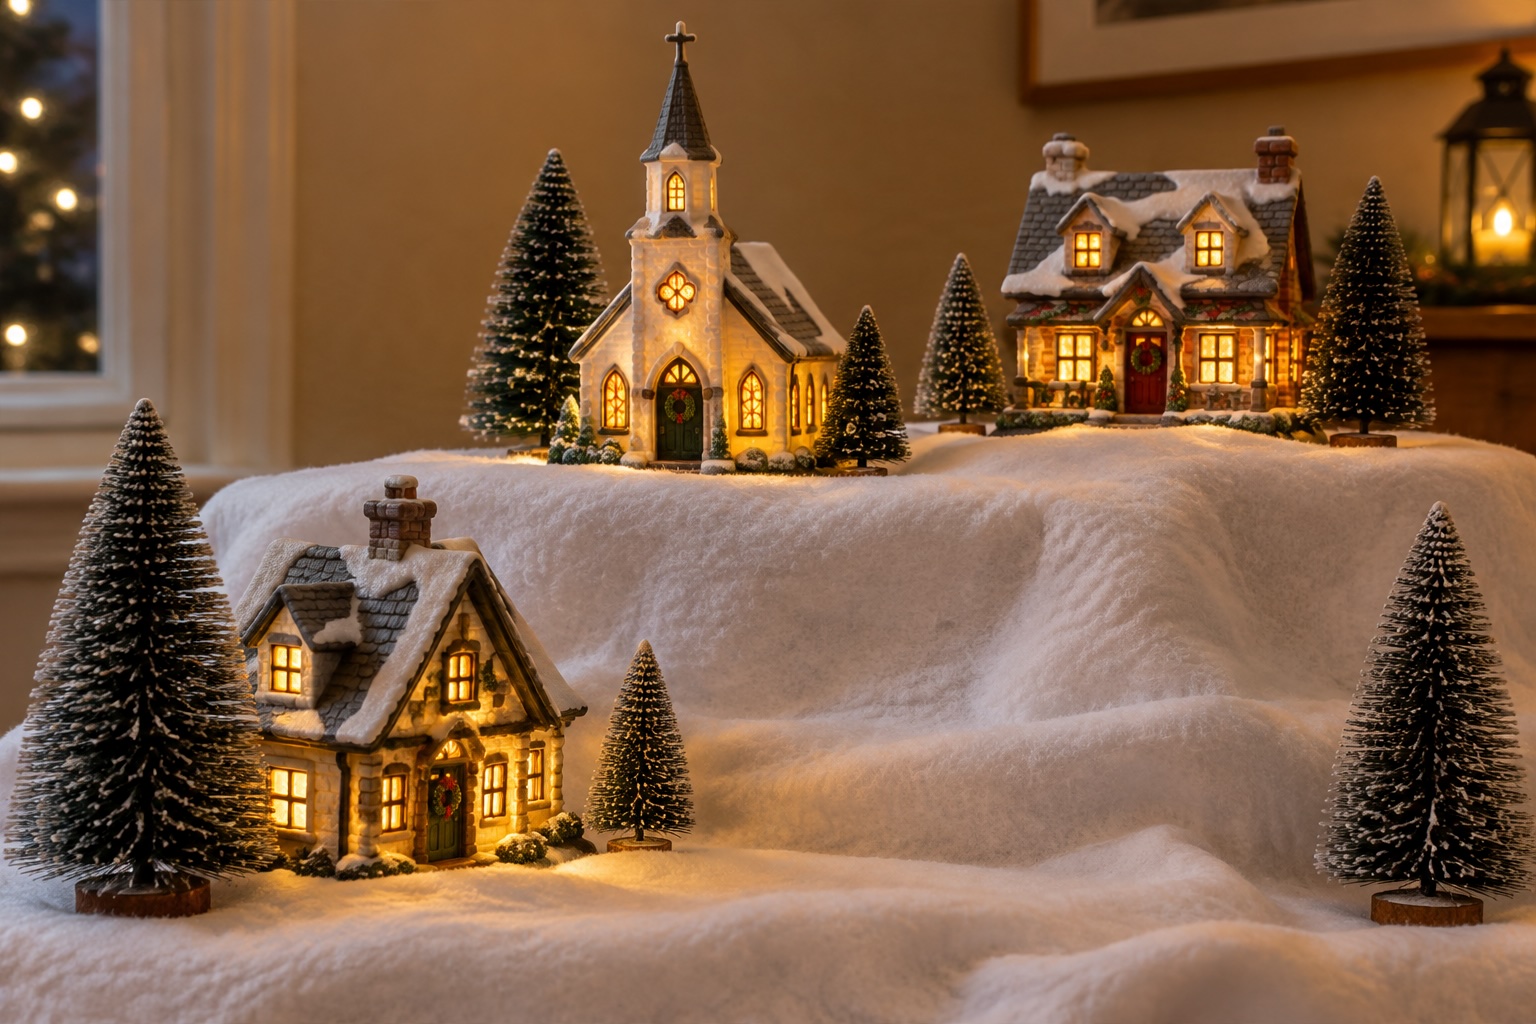
Drape a snow blanket or plain white felt over your risers, letting it fold naturally into hills and valleys. A few puffs of loose faux snow along the edges soften hard lines. If you have pets or small children, skip the glitter-style snow and stick to a blanket that will not get scattered around the house.
Step 4: Place the Buildings
Start with your anchor piece, usually the largest or most special building, and place it slightly off center. Then add the rest in small clusters rather than a straight line. Angle a few buildings toward each other so they look like neighbors, and turn every piece so its best side faces the room.
Step 5: Plan Your Lighting and Hide the Cords
This is the step that makes or breaks a village. Run cords before you add the small details.
Use a multi-outlet power strip or light adapter. Many villages use a single power adapter with several plug-in bulbs, which keeps cords to a minimum. Follow the manufacturer’s instructions for how many lights each adapter can handle.
Drop cords behind the risers. Small holes or slits in the snow blanket let you feed cords down and out of sight.
Try battery-operated village lights. For buildings far from the outlet, battery lights avoid long cord runs altogether.
Use a timer. An outlet timer turns the village on at dusk without anyone having to remember.
Step 6: Add the Details
Now the fun part. Tuck in bottle brush trees of different heights, a few figurines, lamp posts, a little fence or a winding road. Group figures into tiny stories, like carolers outside a church or kids sledding down a hill. Step back often and look from where people will actually stand.
Make It Yours
There is no wrong way to build a village. Add a piece each year, mix styles if you love them, and let the display grow with your family. Take a photo once it is finished, too, so setting it up next year is even faster.
Need inspiration for your theme? See my Christmas village display ideas.